
In the office · Web portal
Create a report
Choose a project, reporting period and area, then save a report for your client.
Web portal instructions
01
Start a report
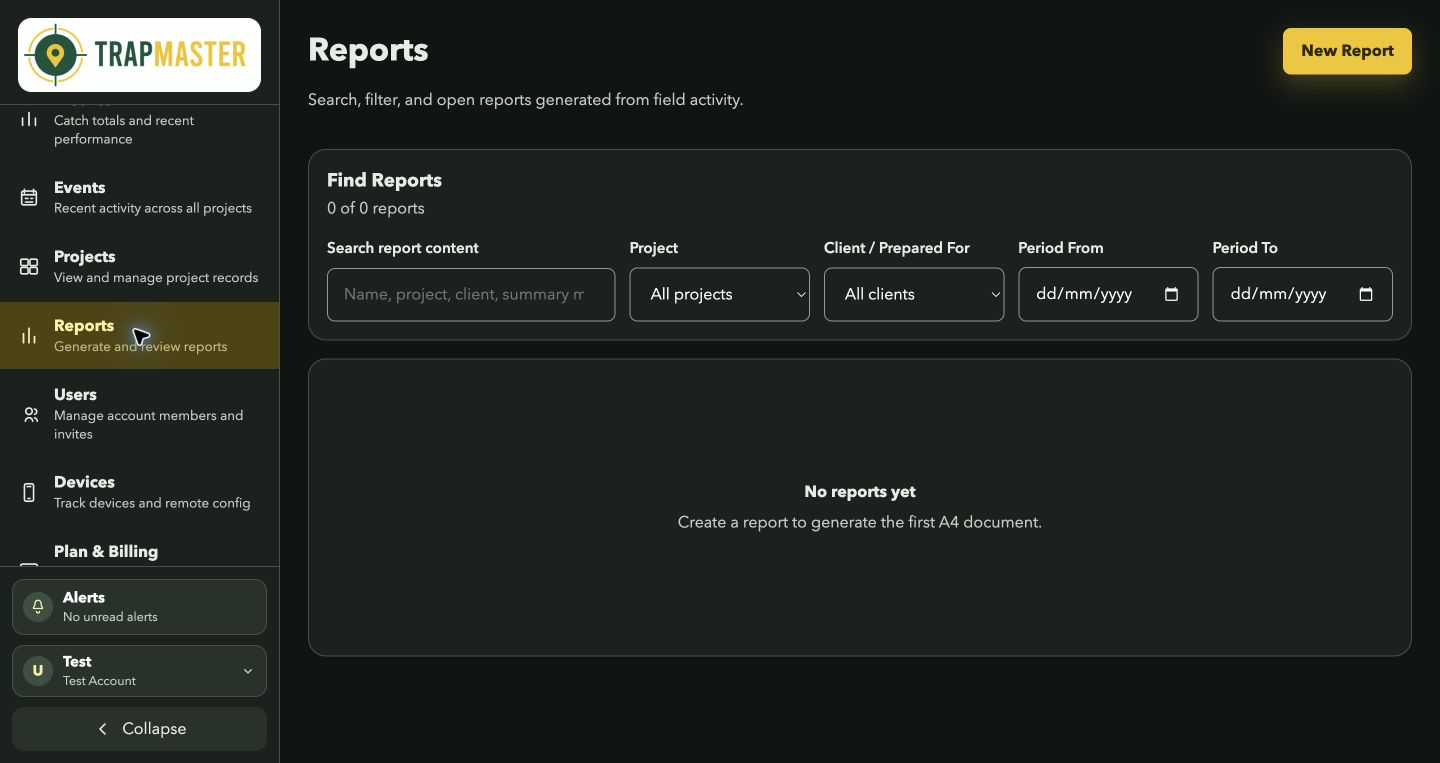
Open Reports and click New Report.
02
Enter the details
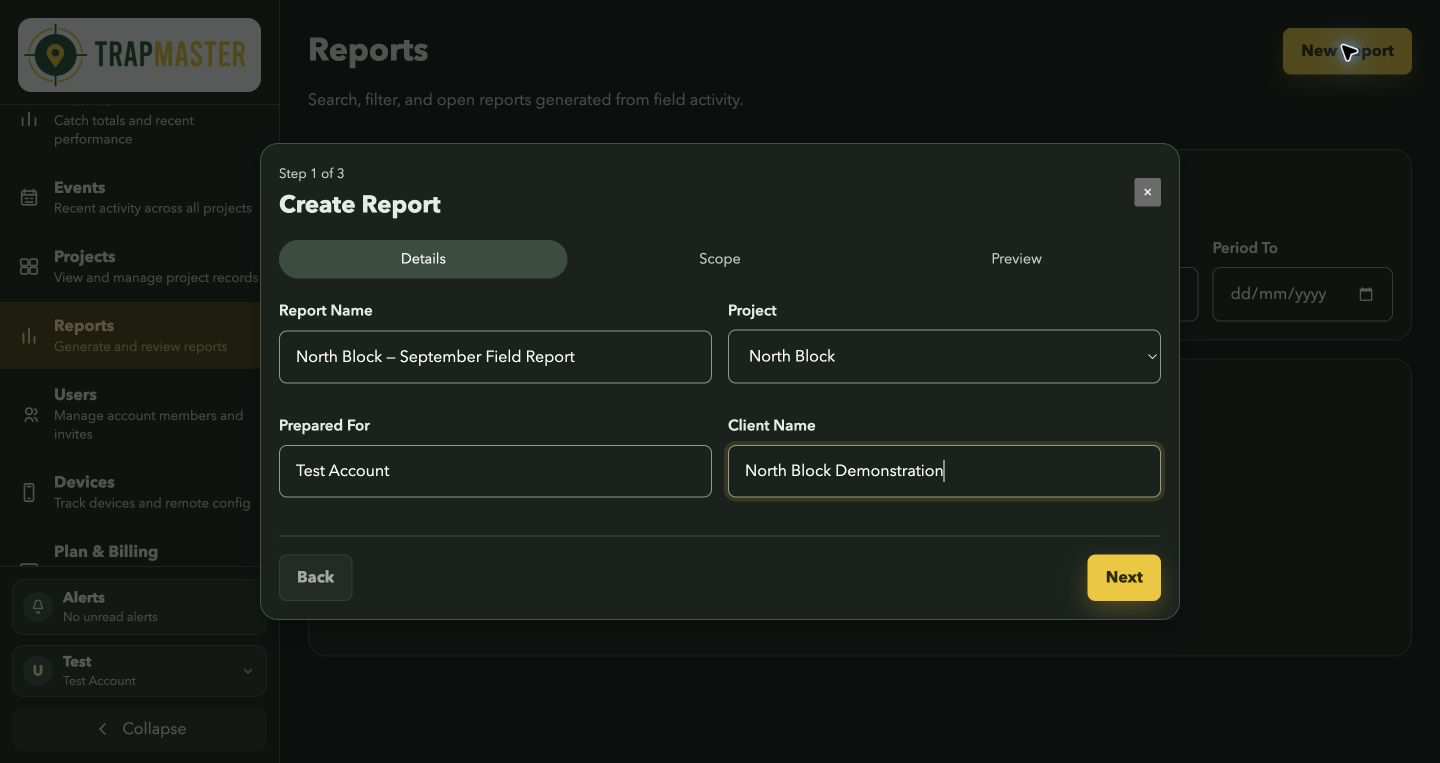
Enter a Report Name, choose the Project, and fill in Prepared For and Client Name. Click Next.
03
Choose the period and area
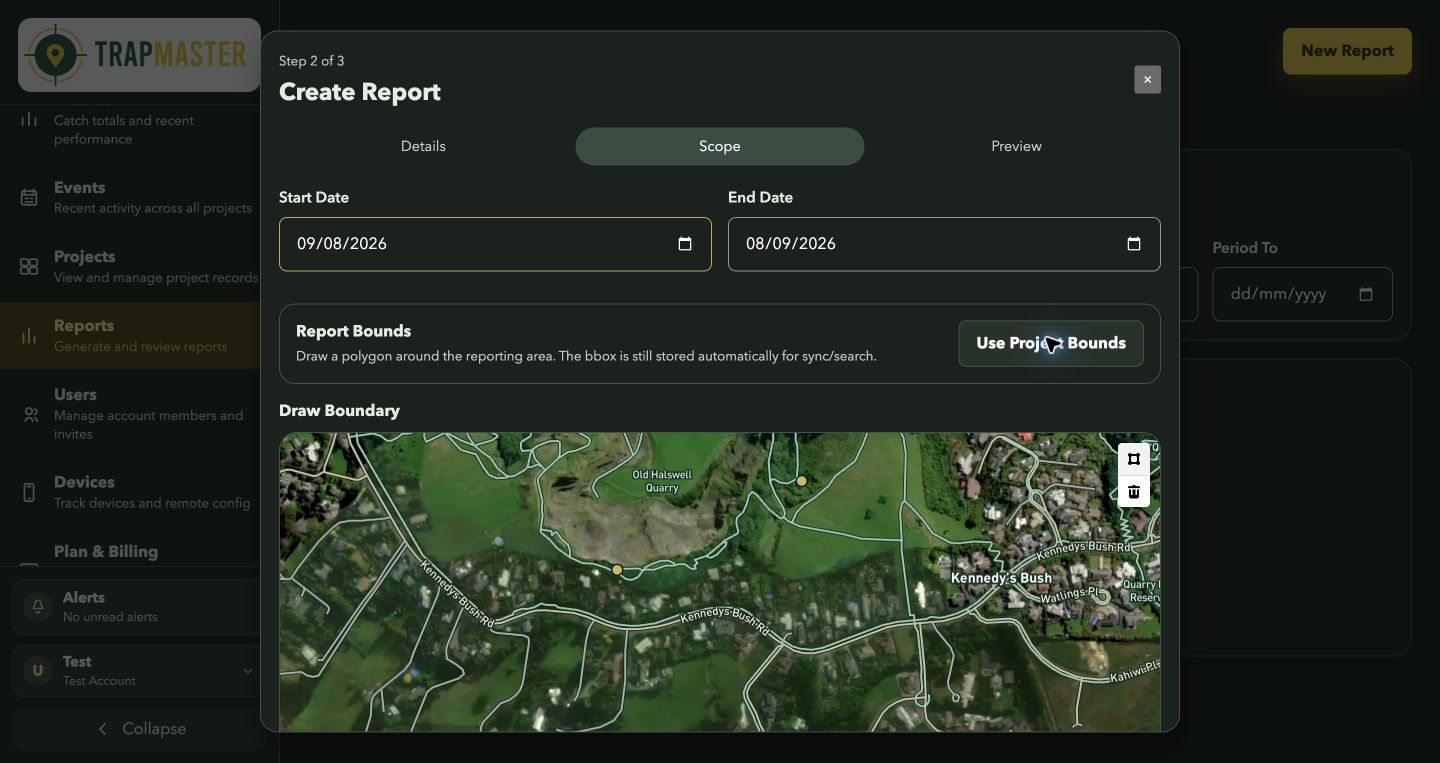
Set Start Date and End Date. Use Use Project Bounds for the project’s extent, or draw a polygon on the Draw Boundary map to select the reporting area. Click Next.
04
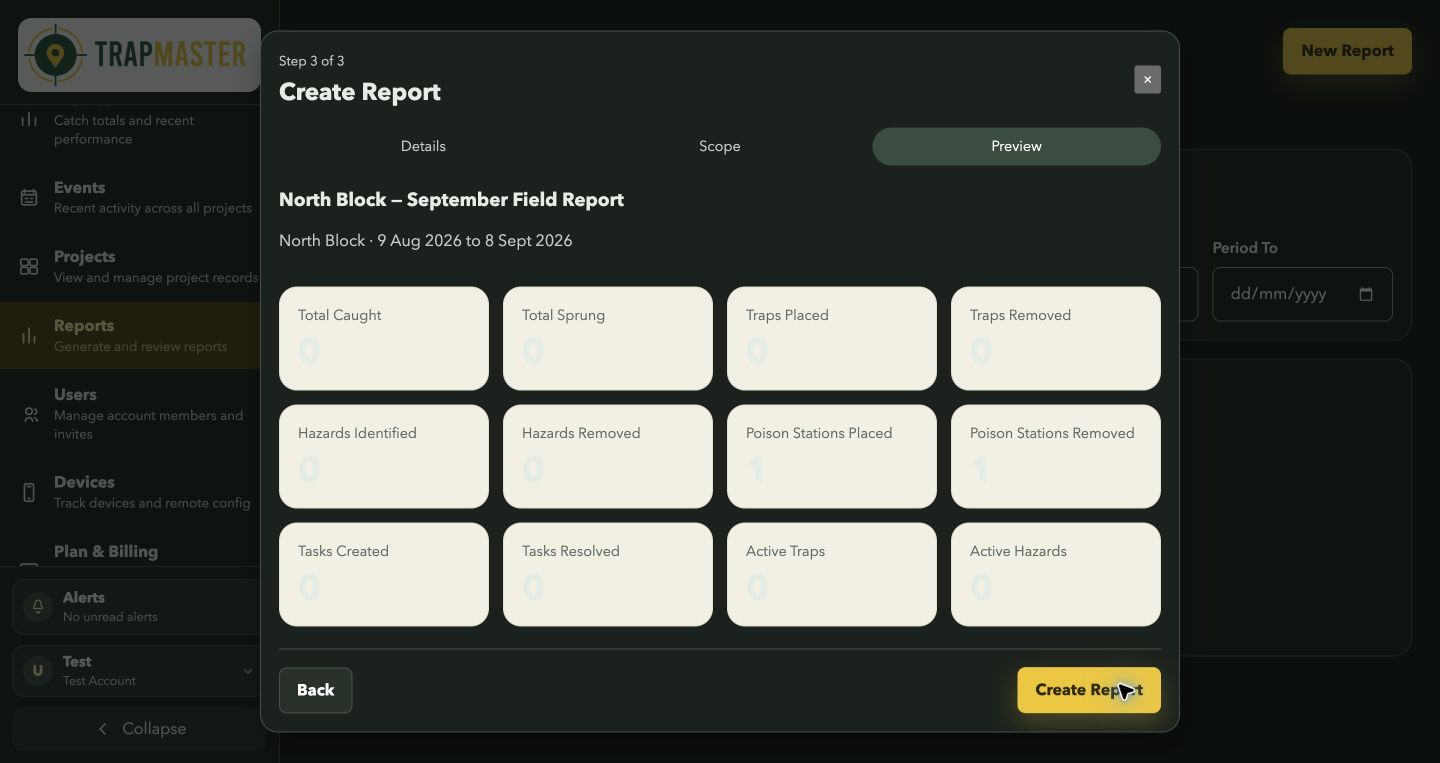
Review and create
Check the project, dates and totals in Preview. Use Back to adjust the details or scope, then click Create Report.
05
Save or print
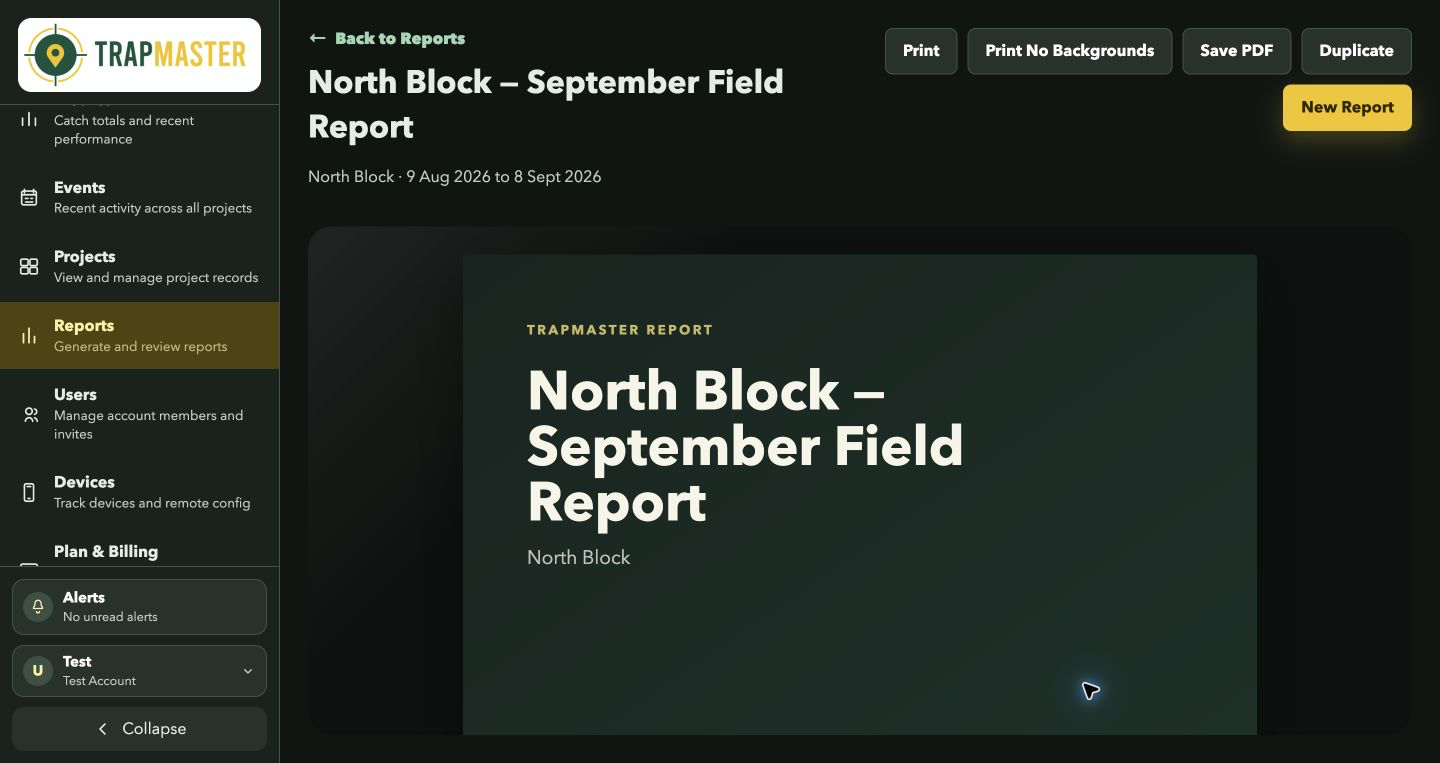
Review the generated report, then click Save PDF to download it. You can also use Print or Print No Backgrounds.