

In the field · Mobile & web
Add photos and notes
Help your team find a marker and understand the work completed there.
Mobile app instructions
01
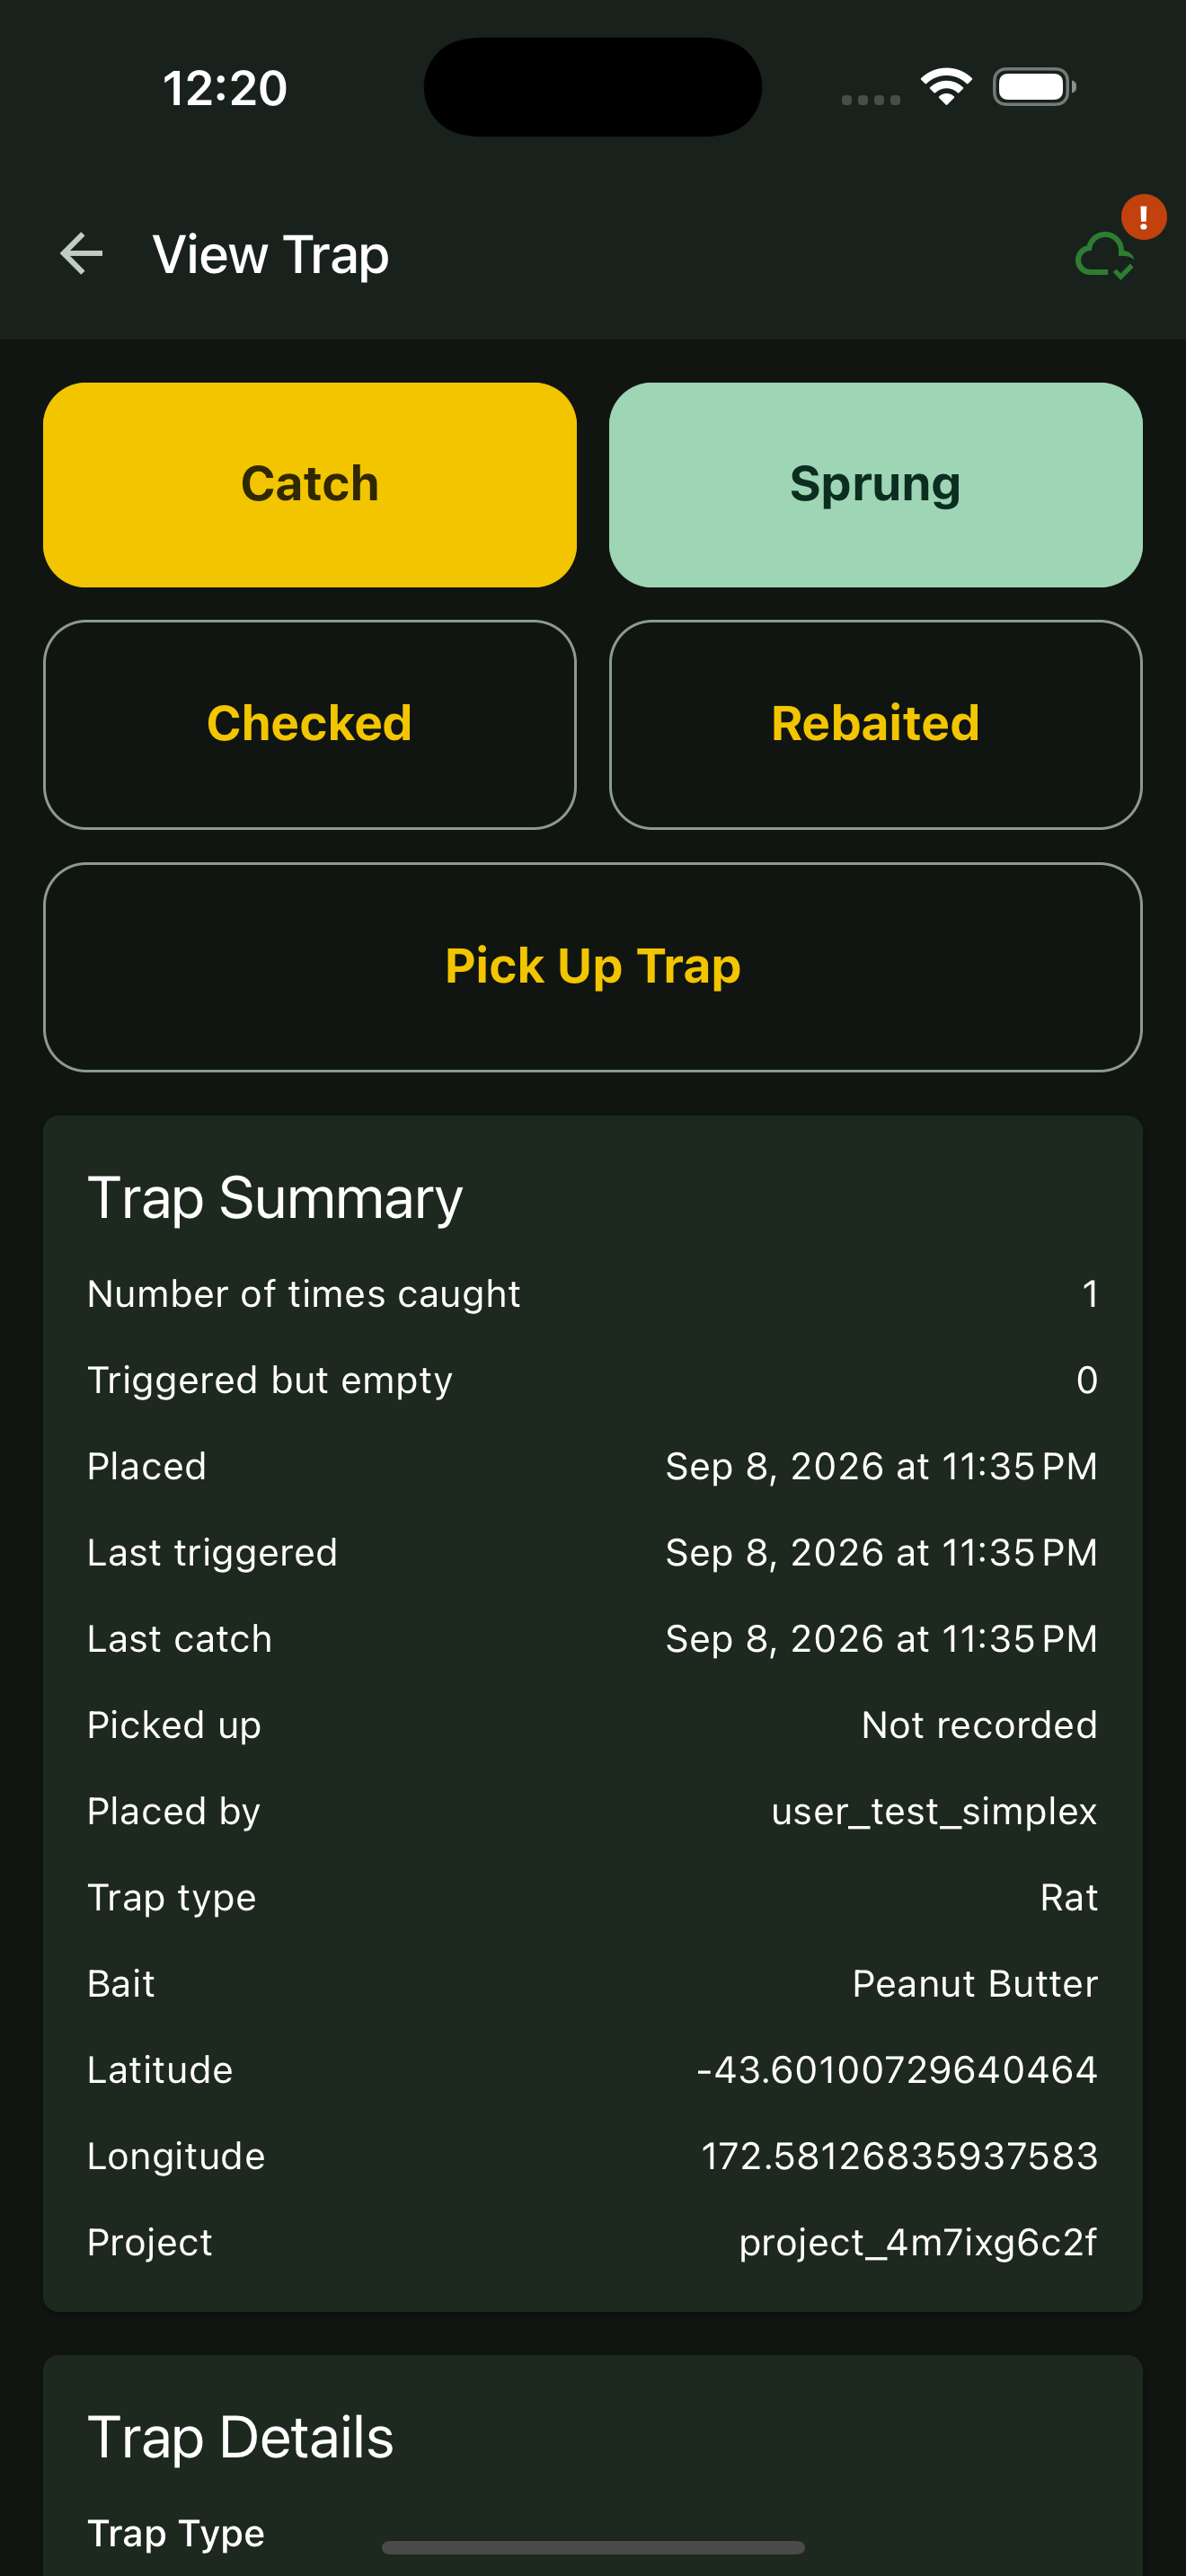
Open the marker
Select the marker on the map and tap Open.
02
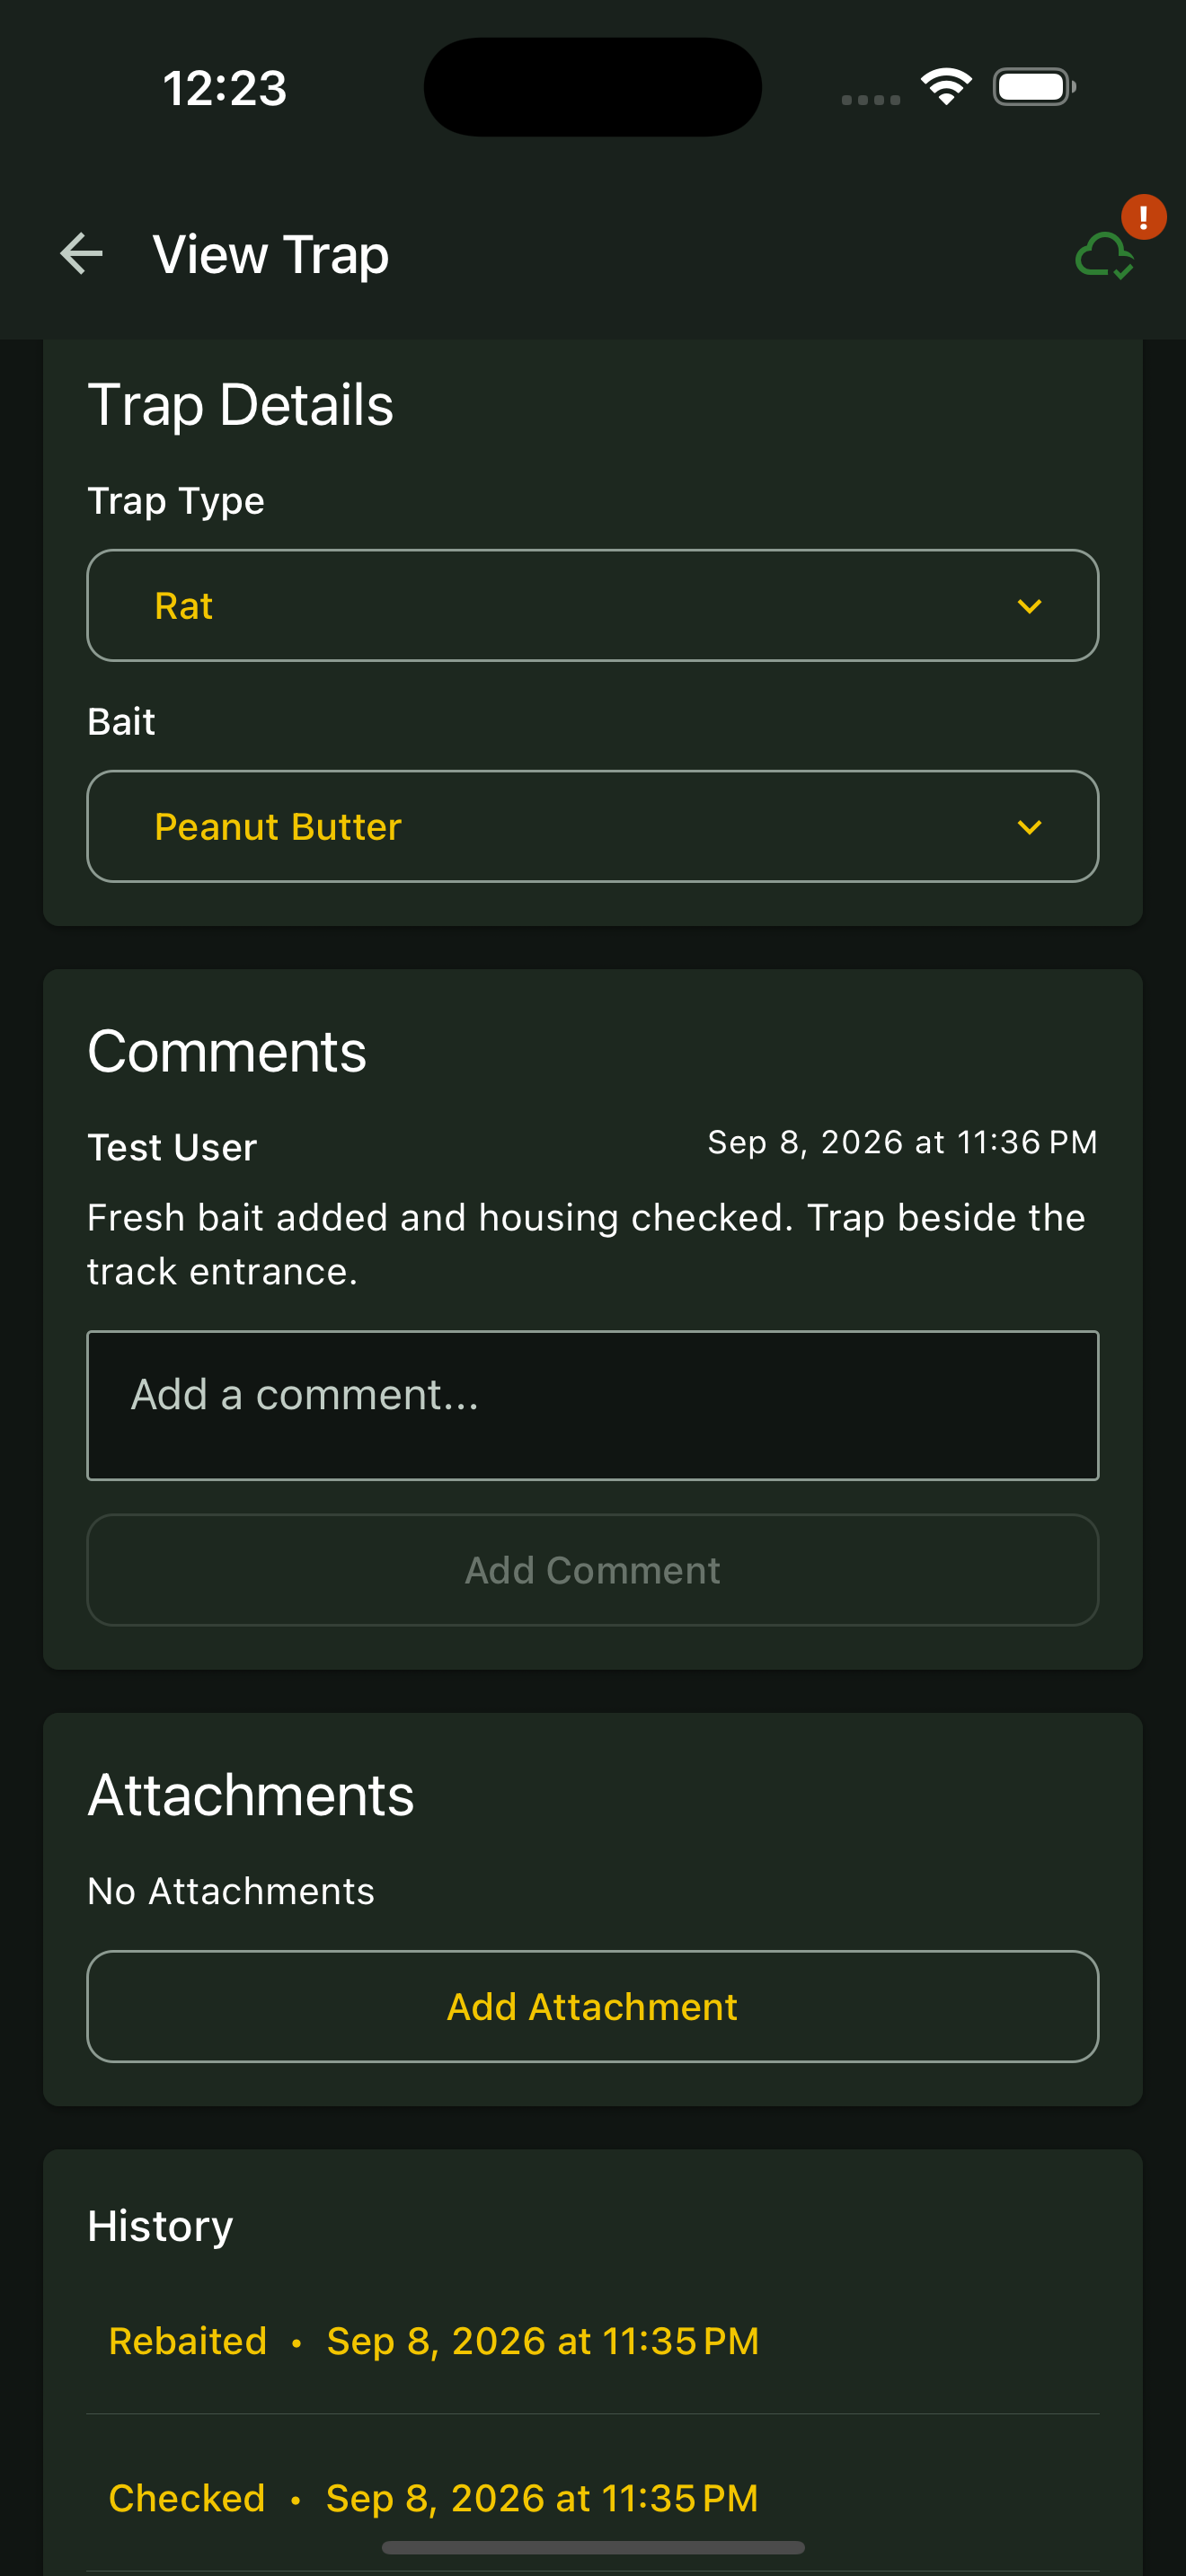
Add a note
Find Comments, enter your note and tap Add Comment. Describe the location, condition or work completed.
03
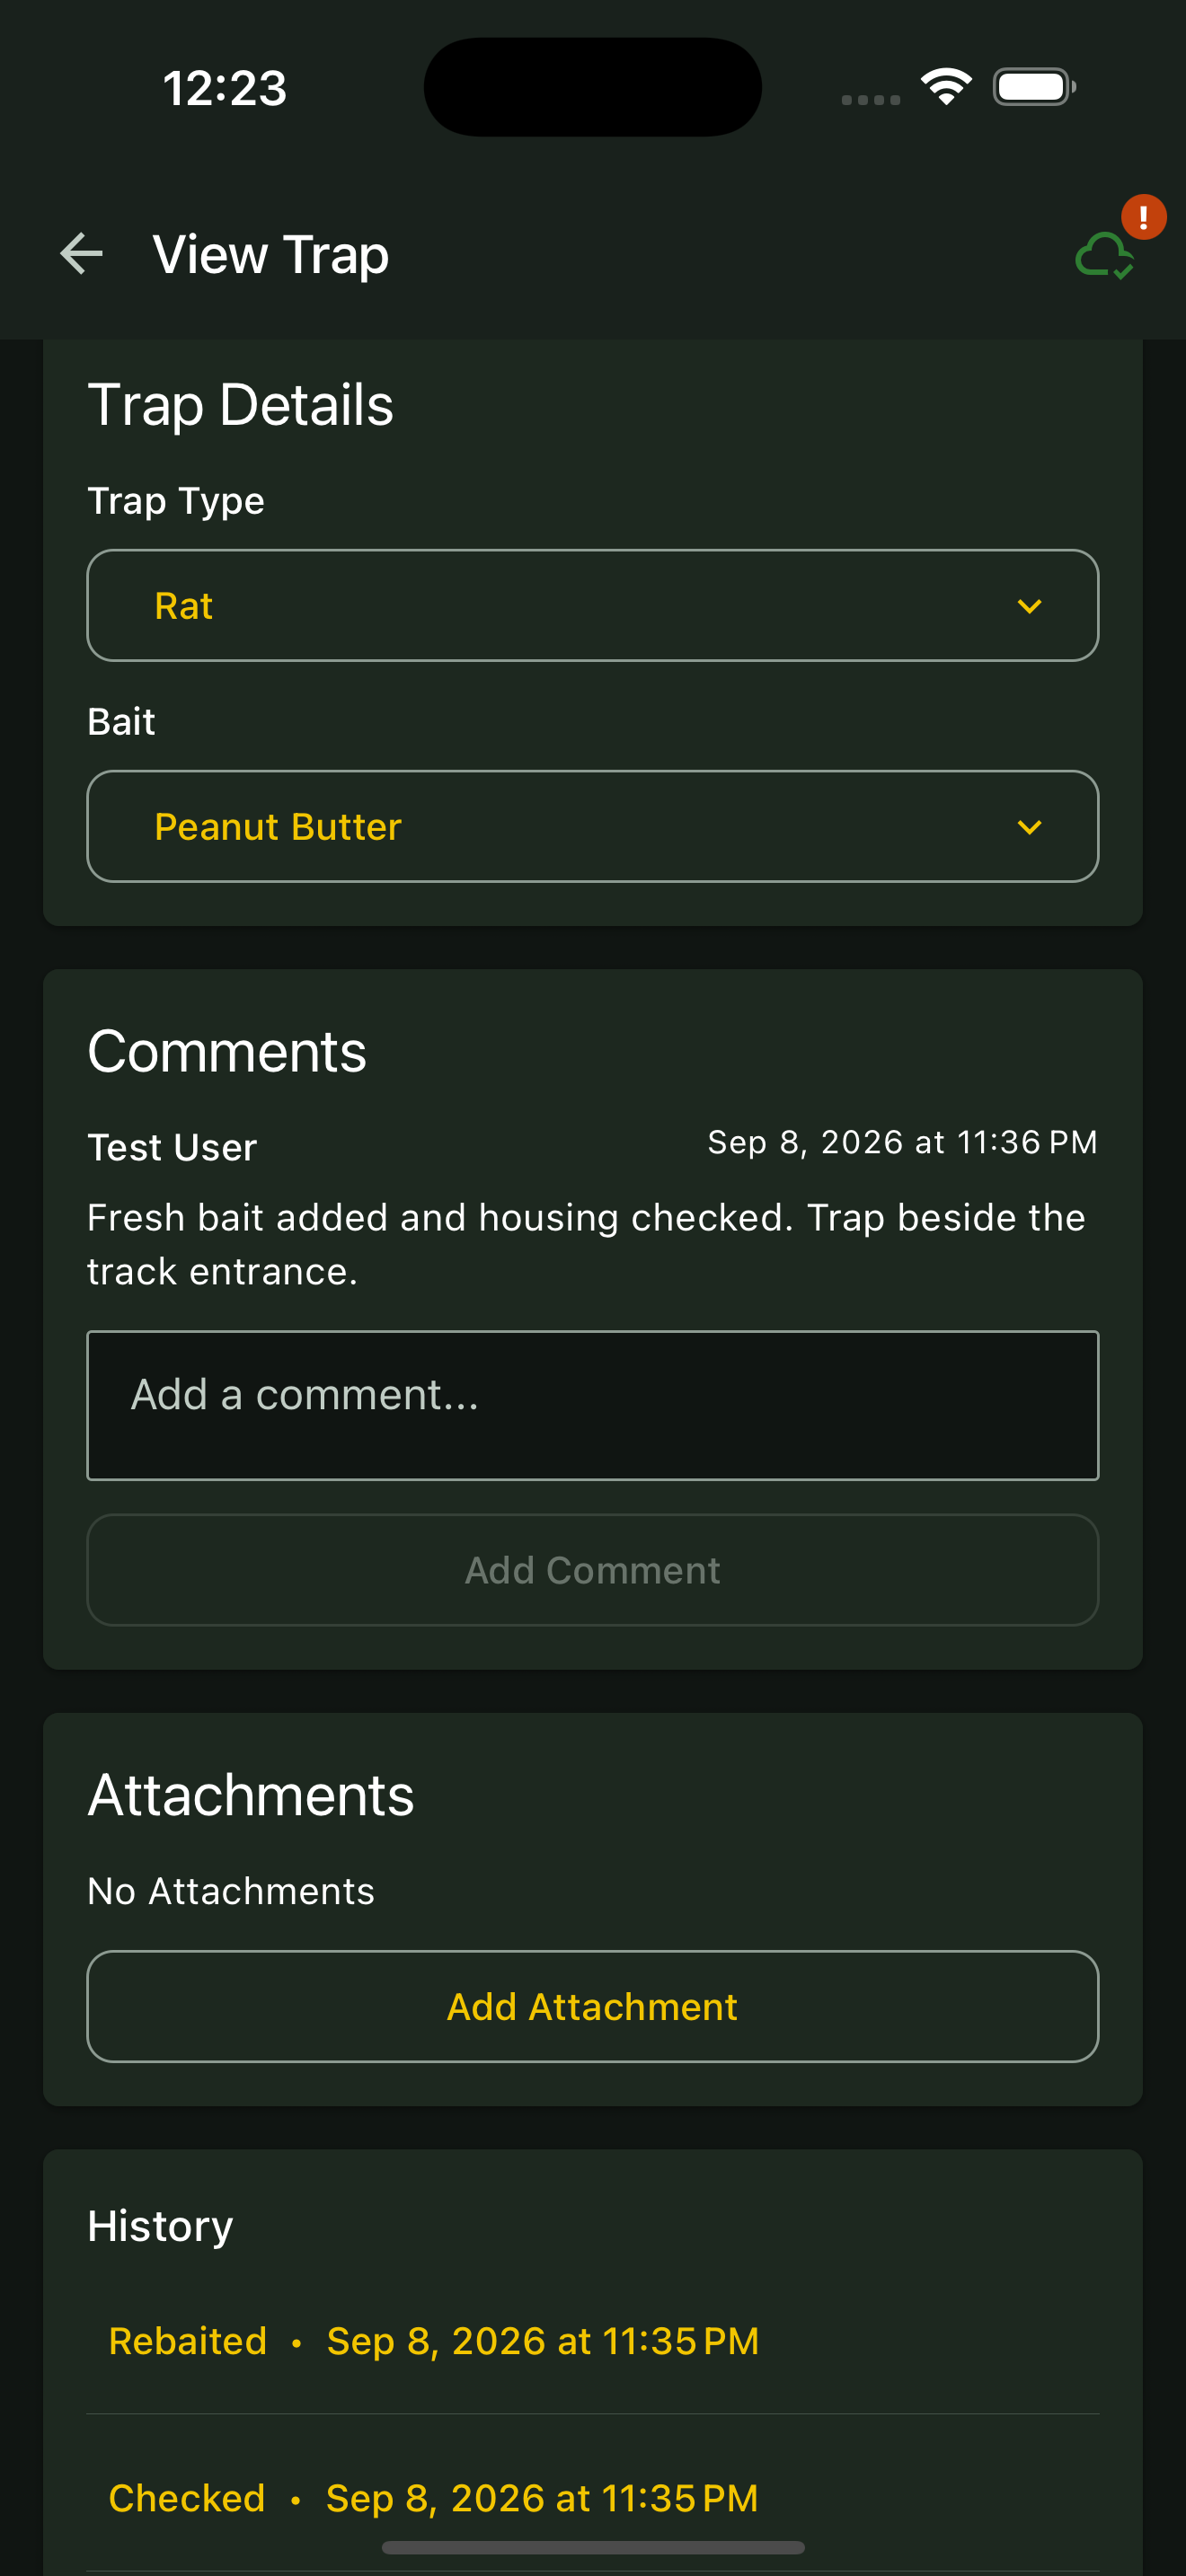
Attach a photo
Under Attachments, tap Add Attachment or Add Attachments. Choose Take Photo or Choose Photos and allow camera or photo access if prompted.
04
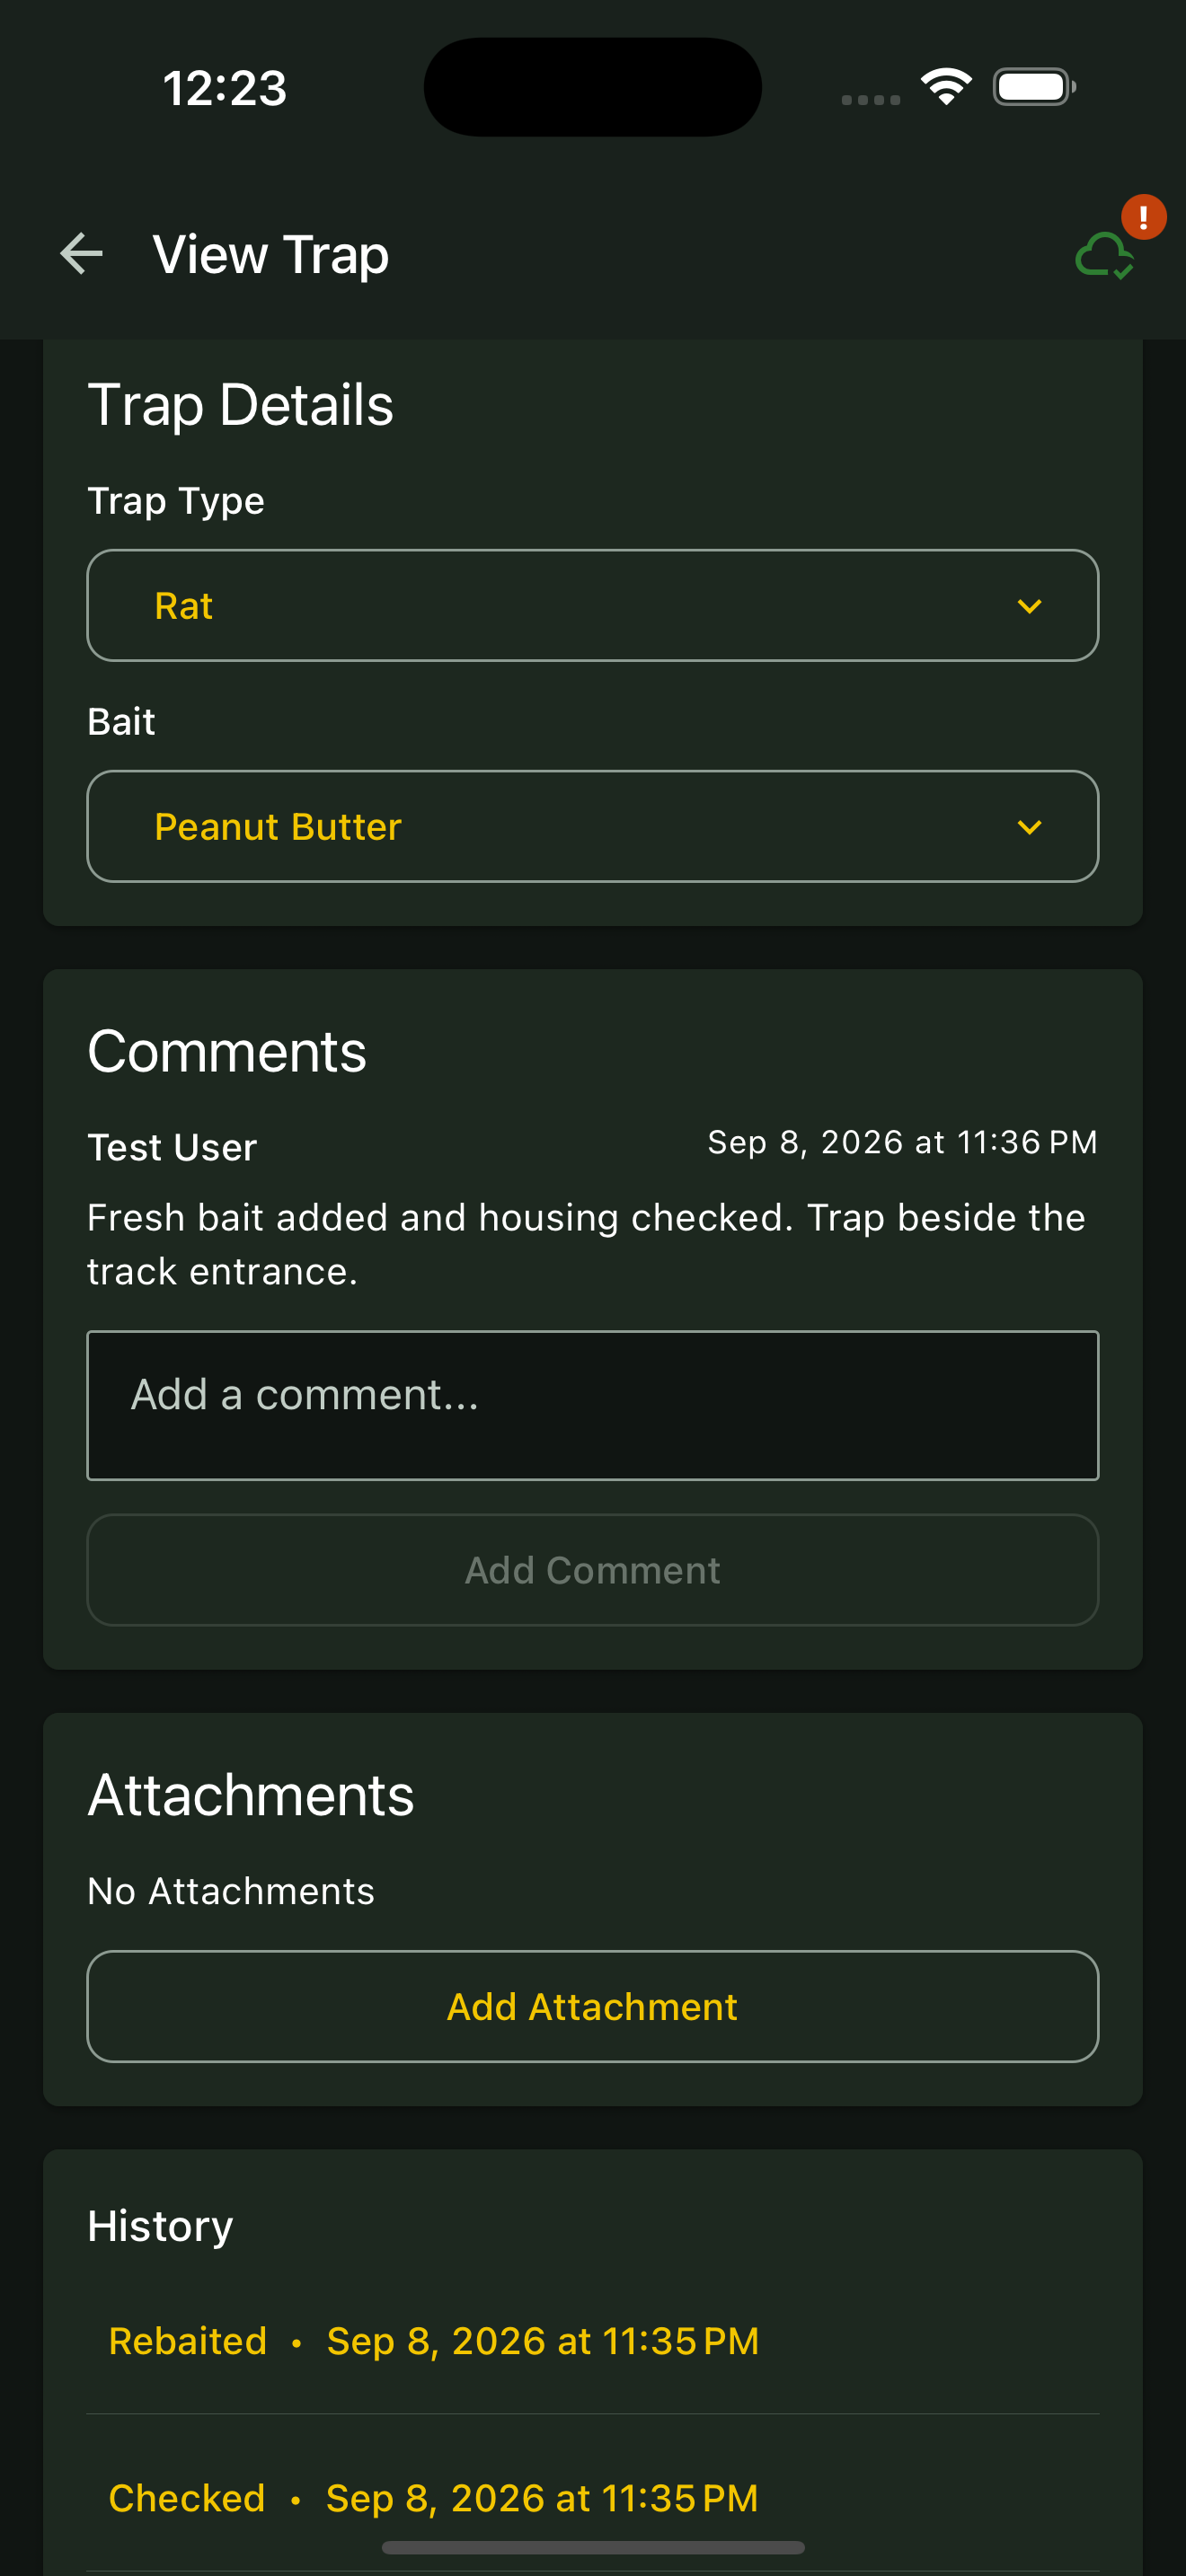
Check the saved evidence
Confirm the comment and attachment appear on the marker. If you are offline, reconnect later and follow Sync your field work to check uploads.
Web portal instructions
01
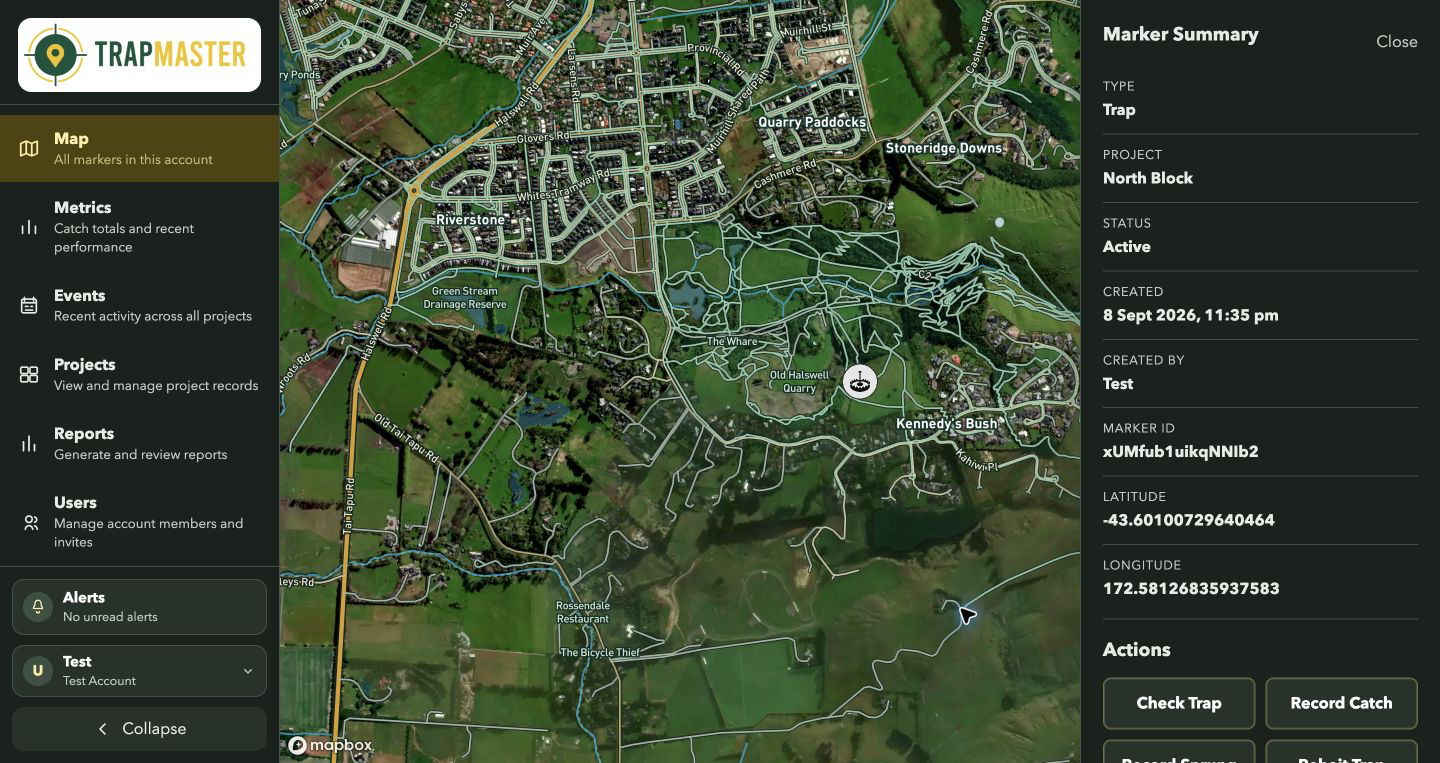
Select the marker
Click the marker on the map to open its details.
02
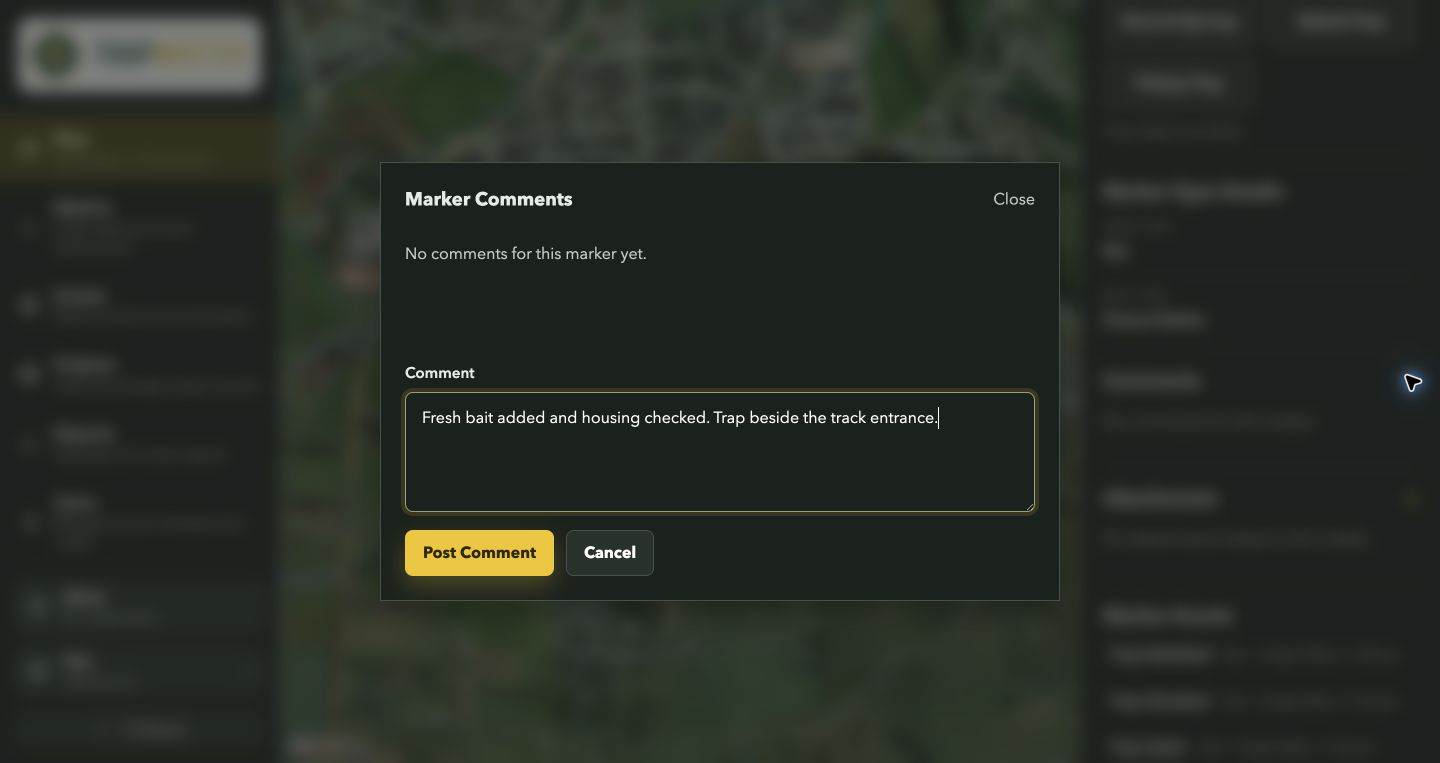
Post a comment
Click + beside Comments. Enter your note in Comment, then click Post Comment.
03
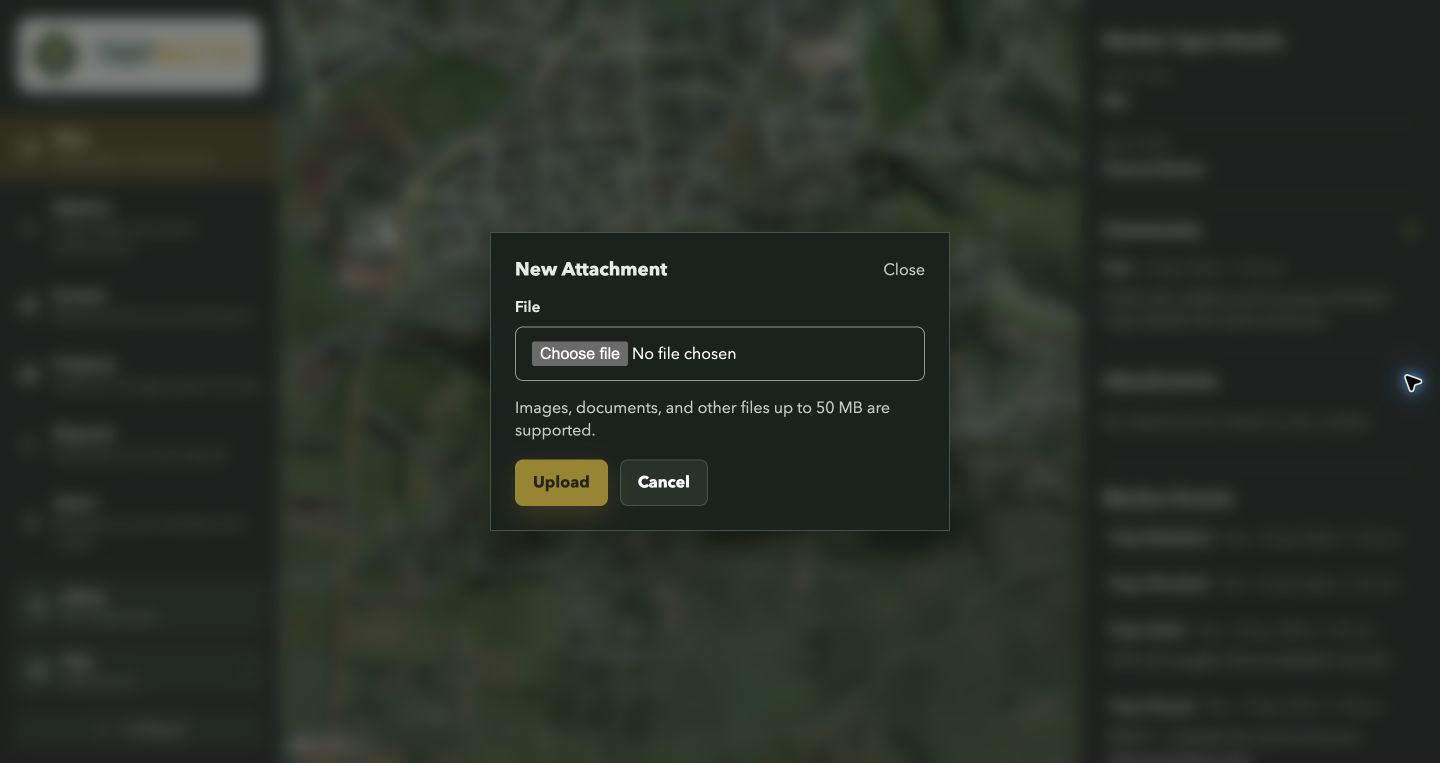
Upload the photo
Click + beside Attachments. Choose the photo using the File field and click Upload. Wait for the upload to finish.
04
Review the result
Confirm the photo appears under Attachments and the note appears under Comments.