
Getting started · Mobile & web
Place a trap
Mark the location of a trap and record what you have placed.
Mobile app instructions
01
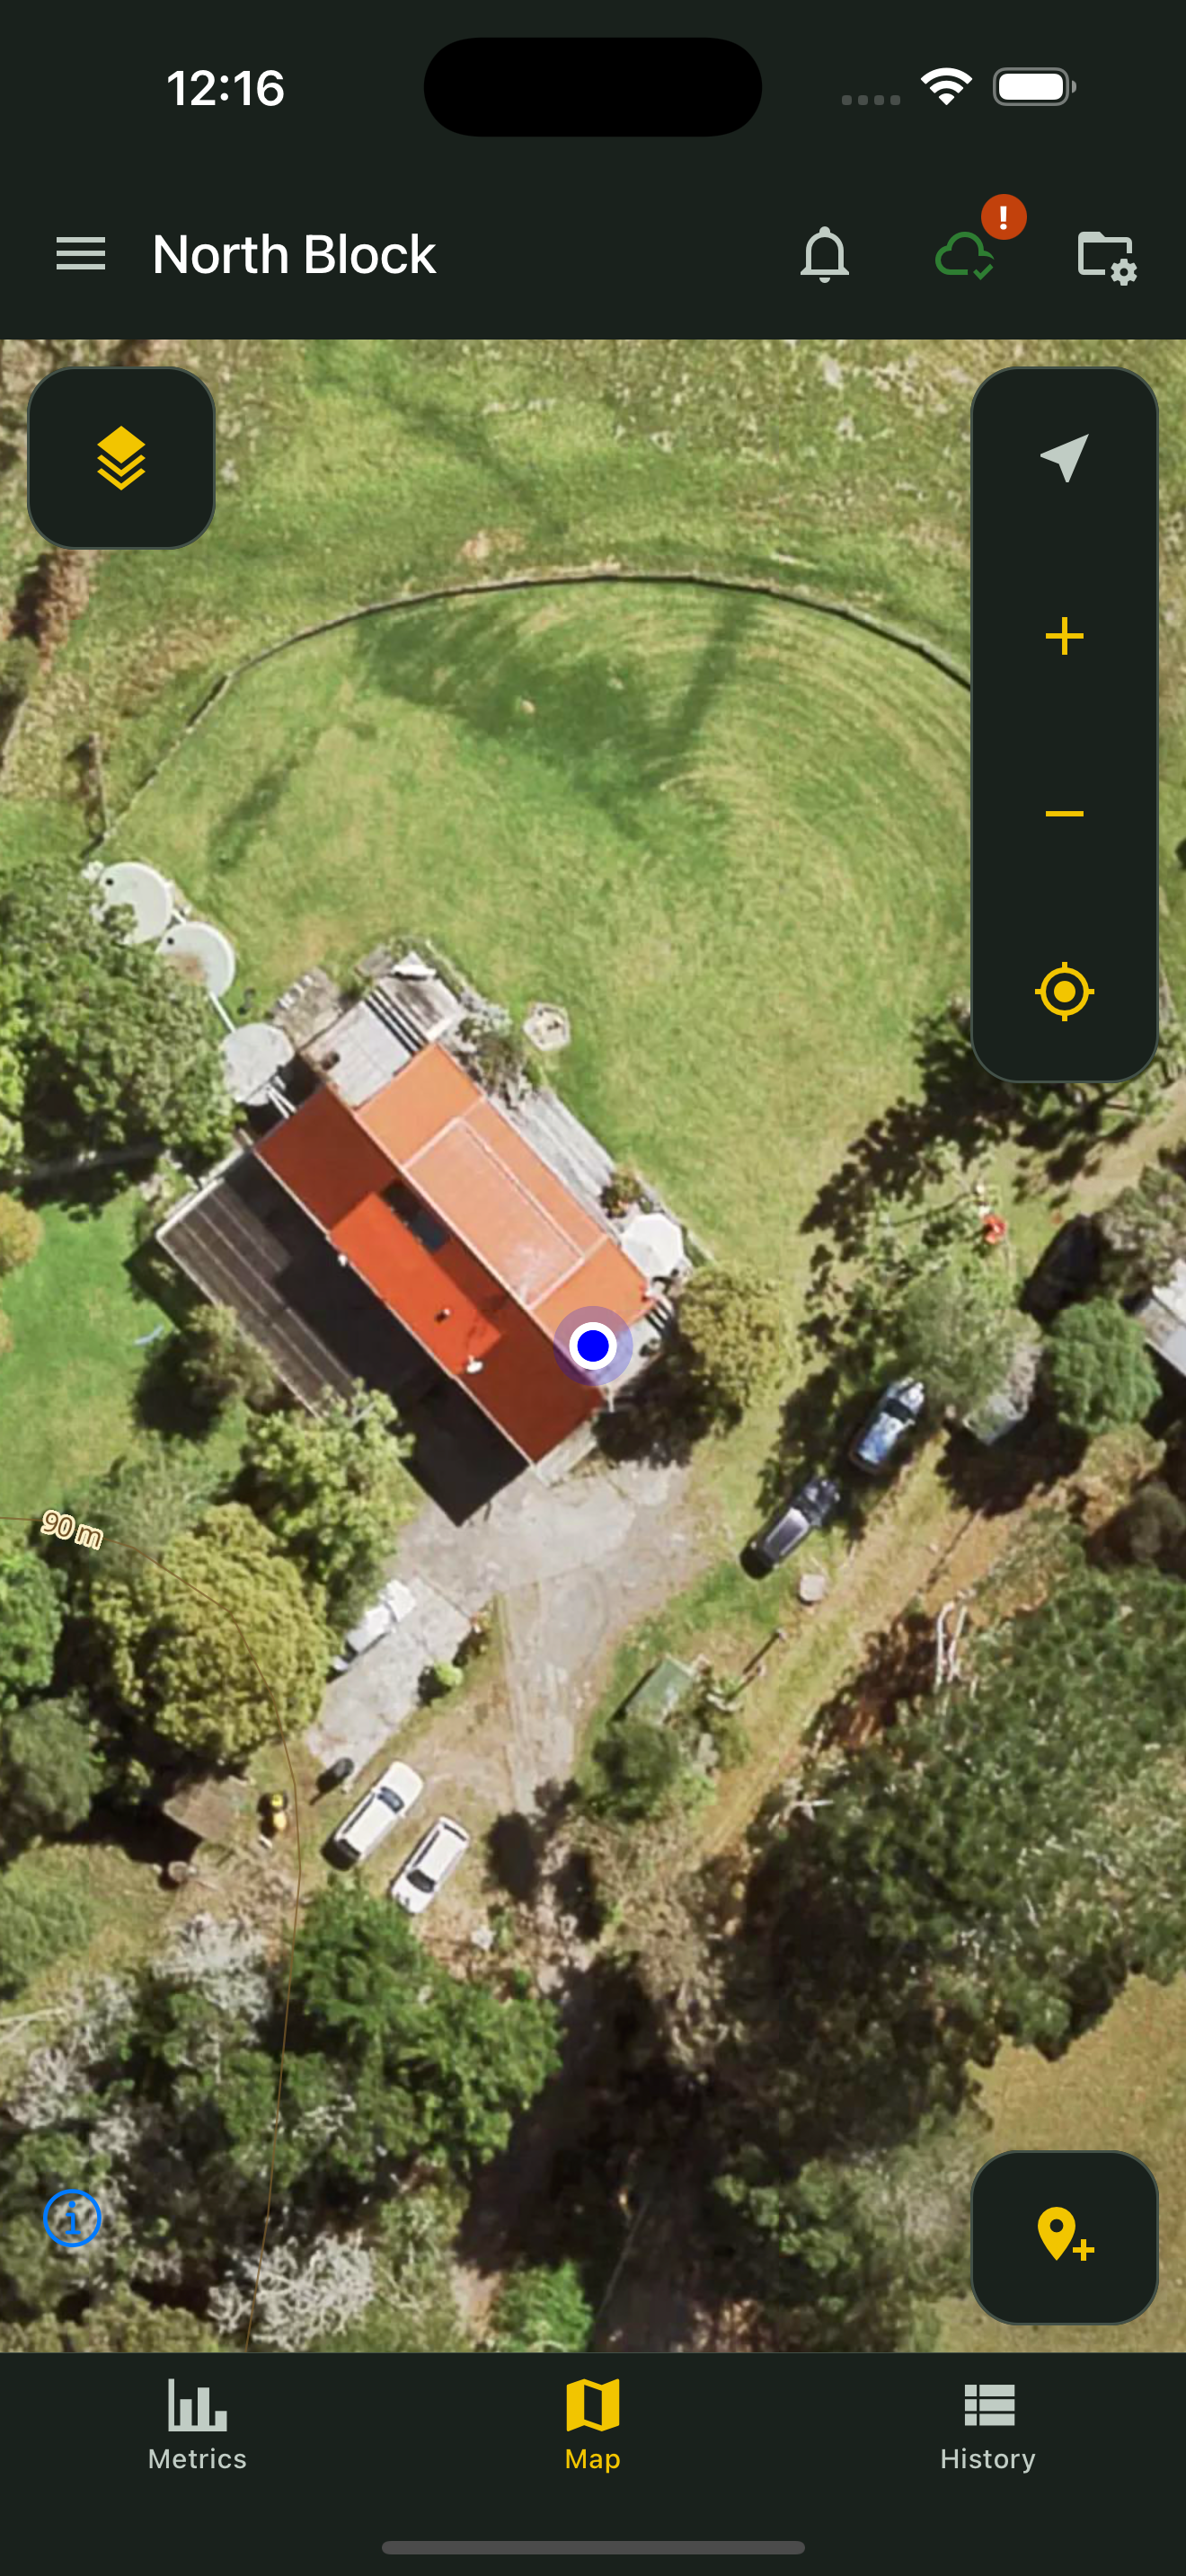
Choose the location
On the project map, press and hold an empty spot at the trap’s location. This opens New Marker. Holding near an existing marker may open that marker instead.
02
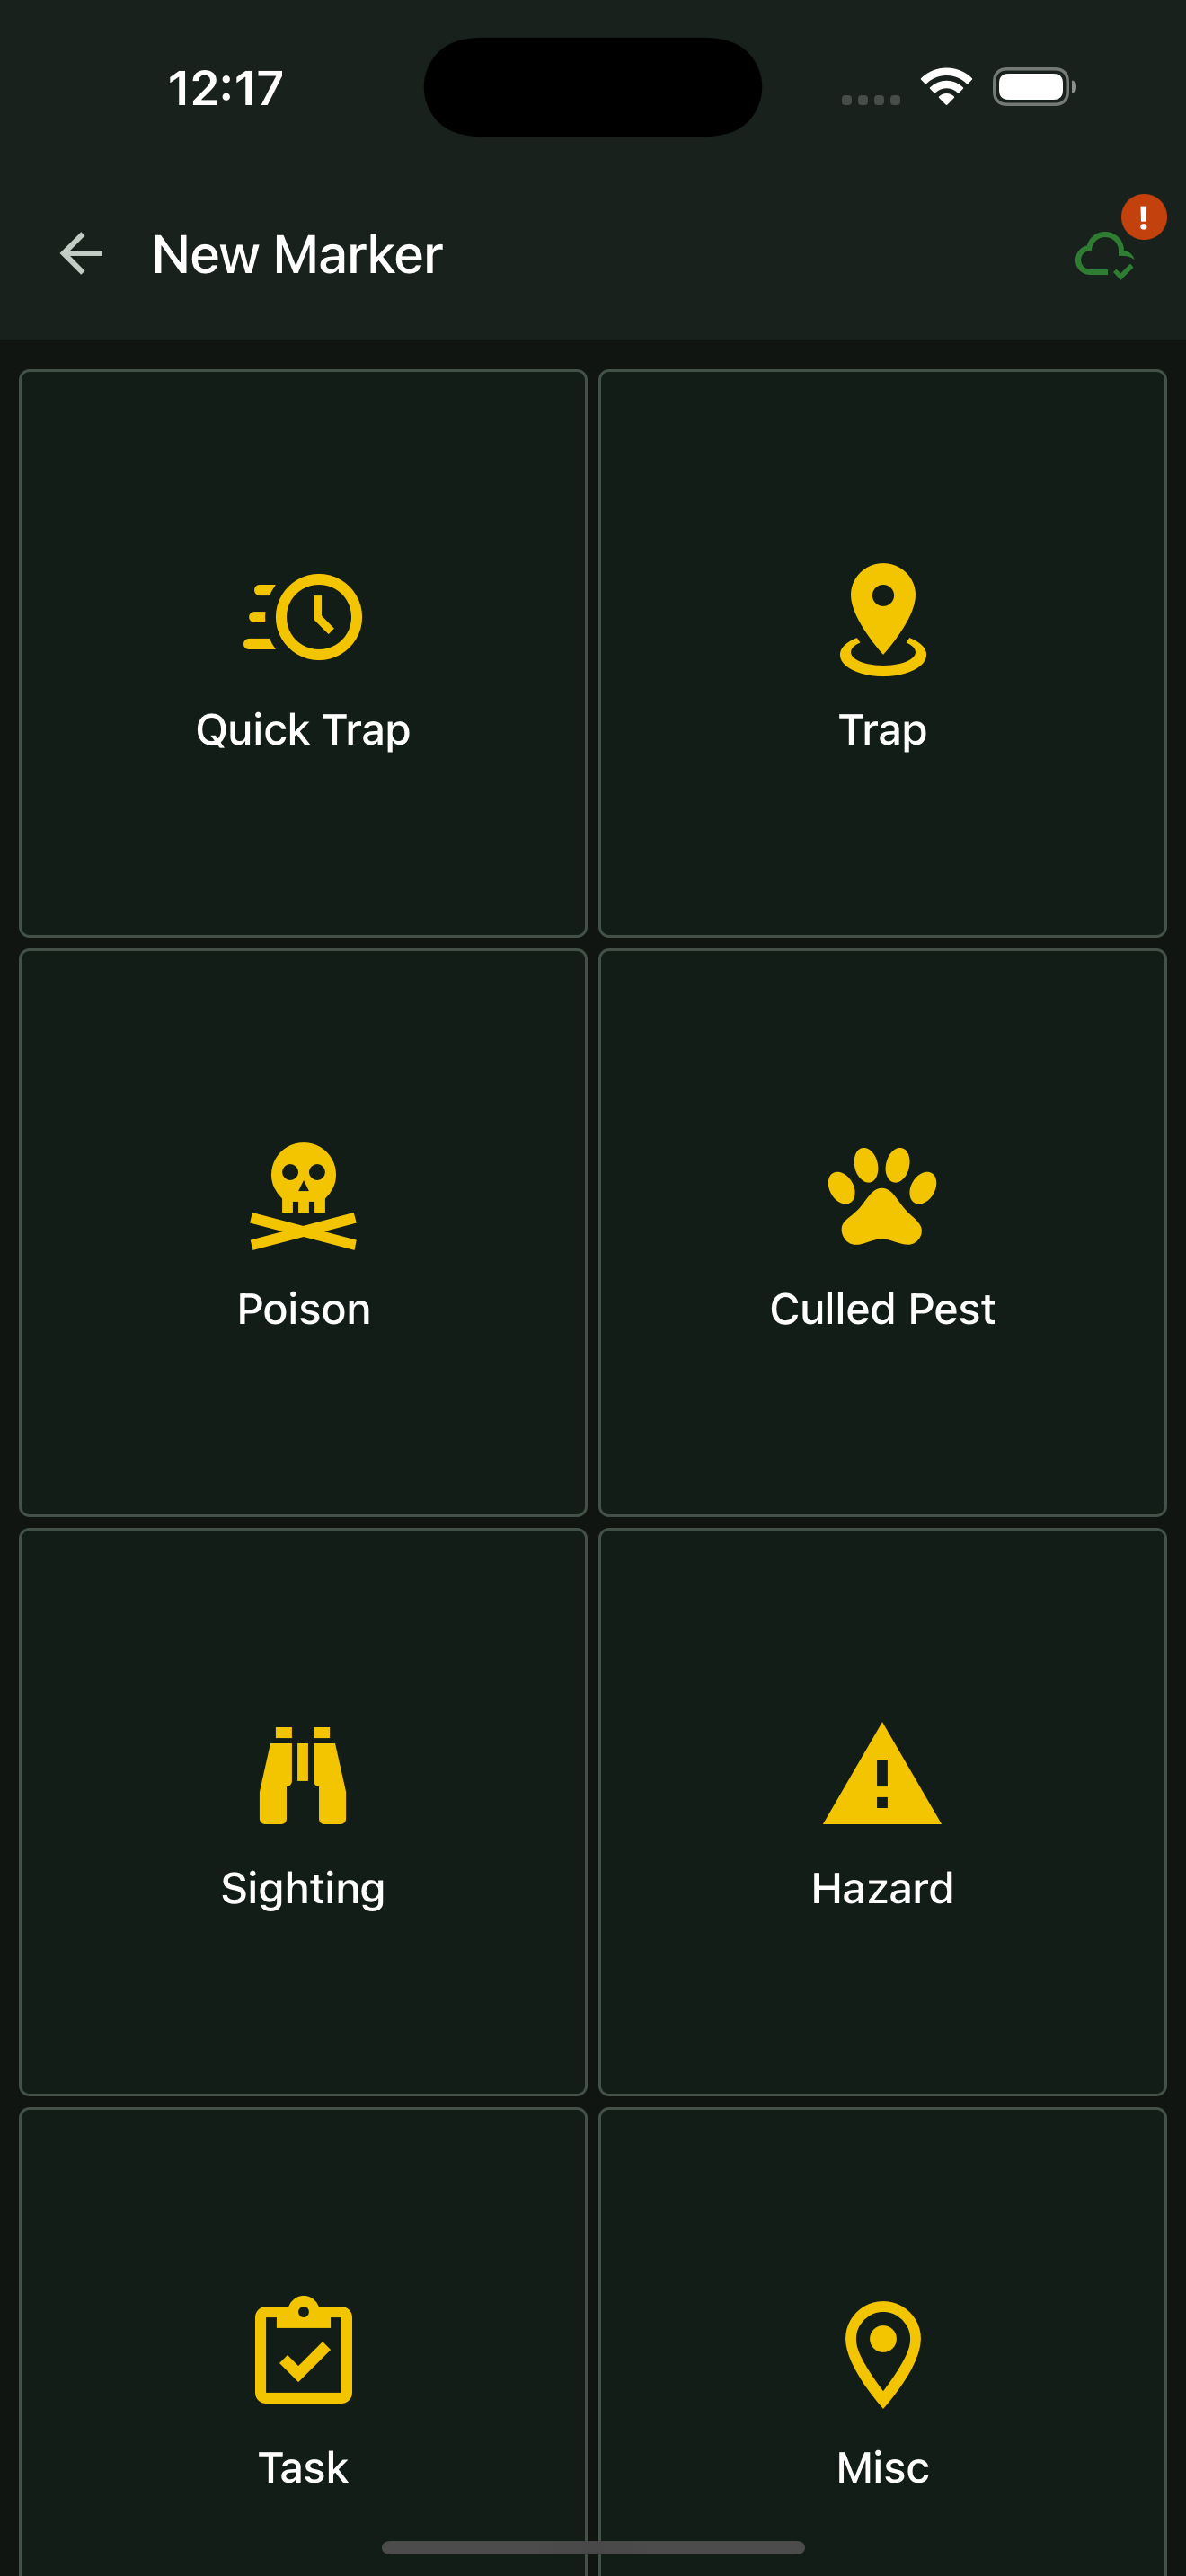
Choose Trap
Select Trap to enter its details. Quick Trap places a trap immediately with default details.
03
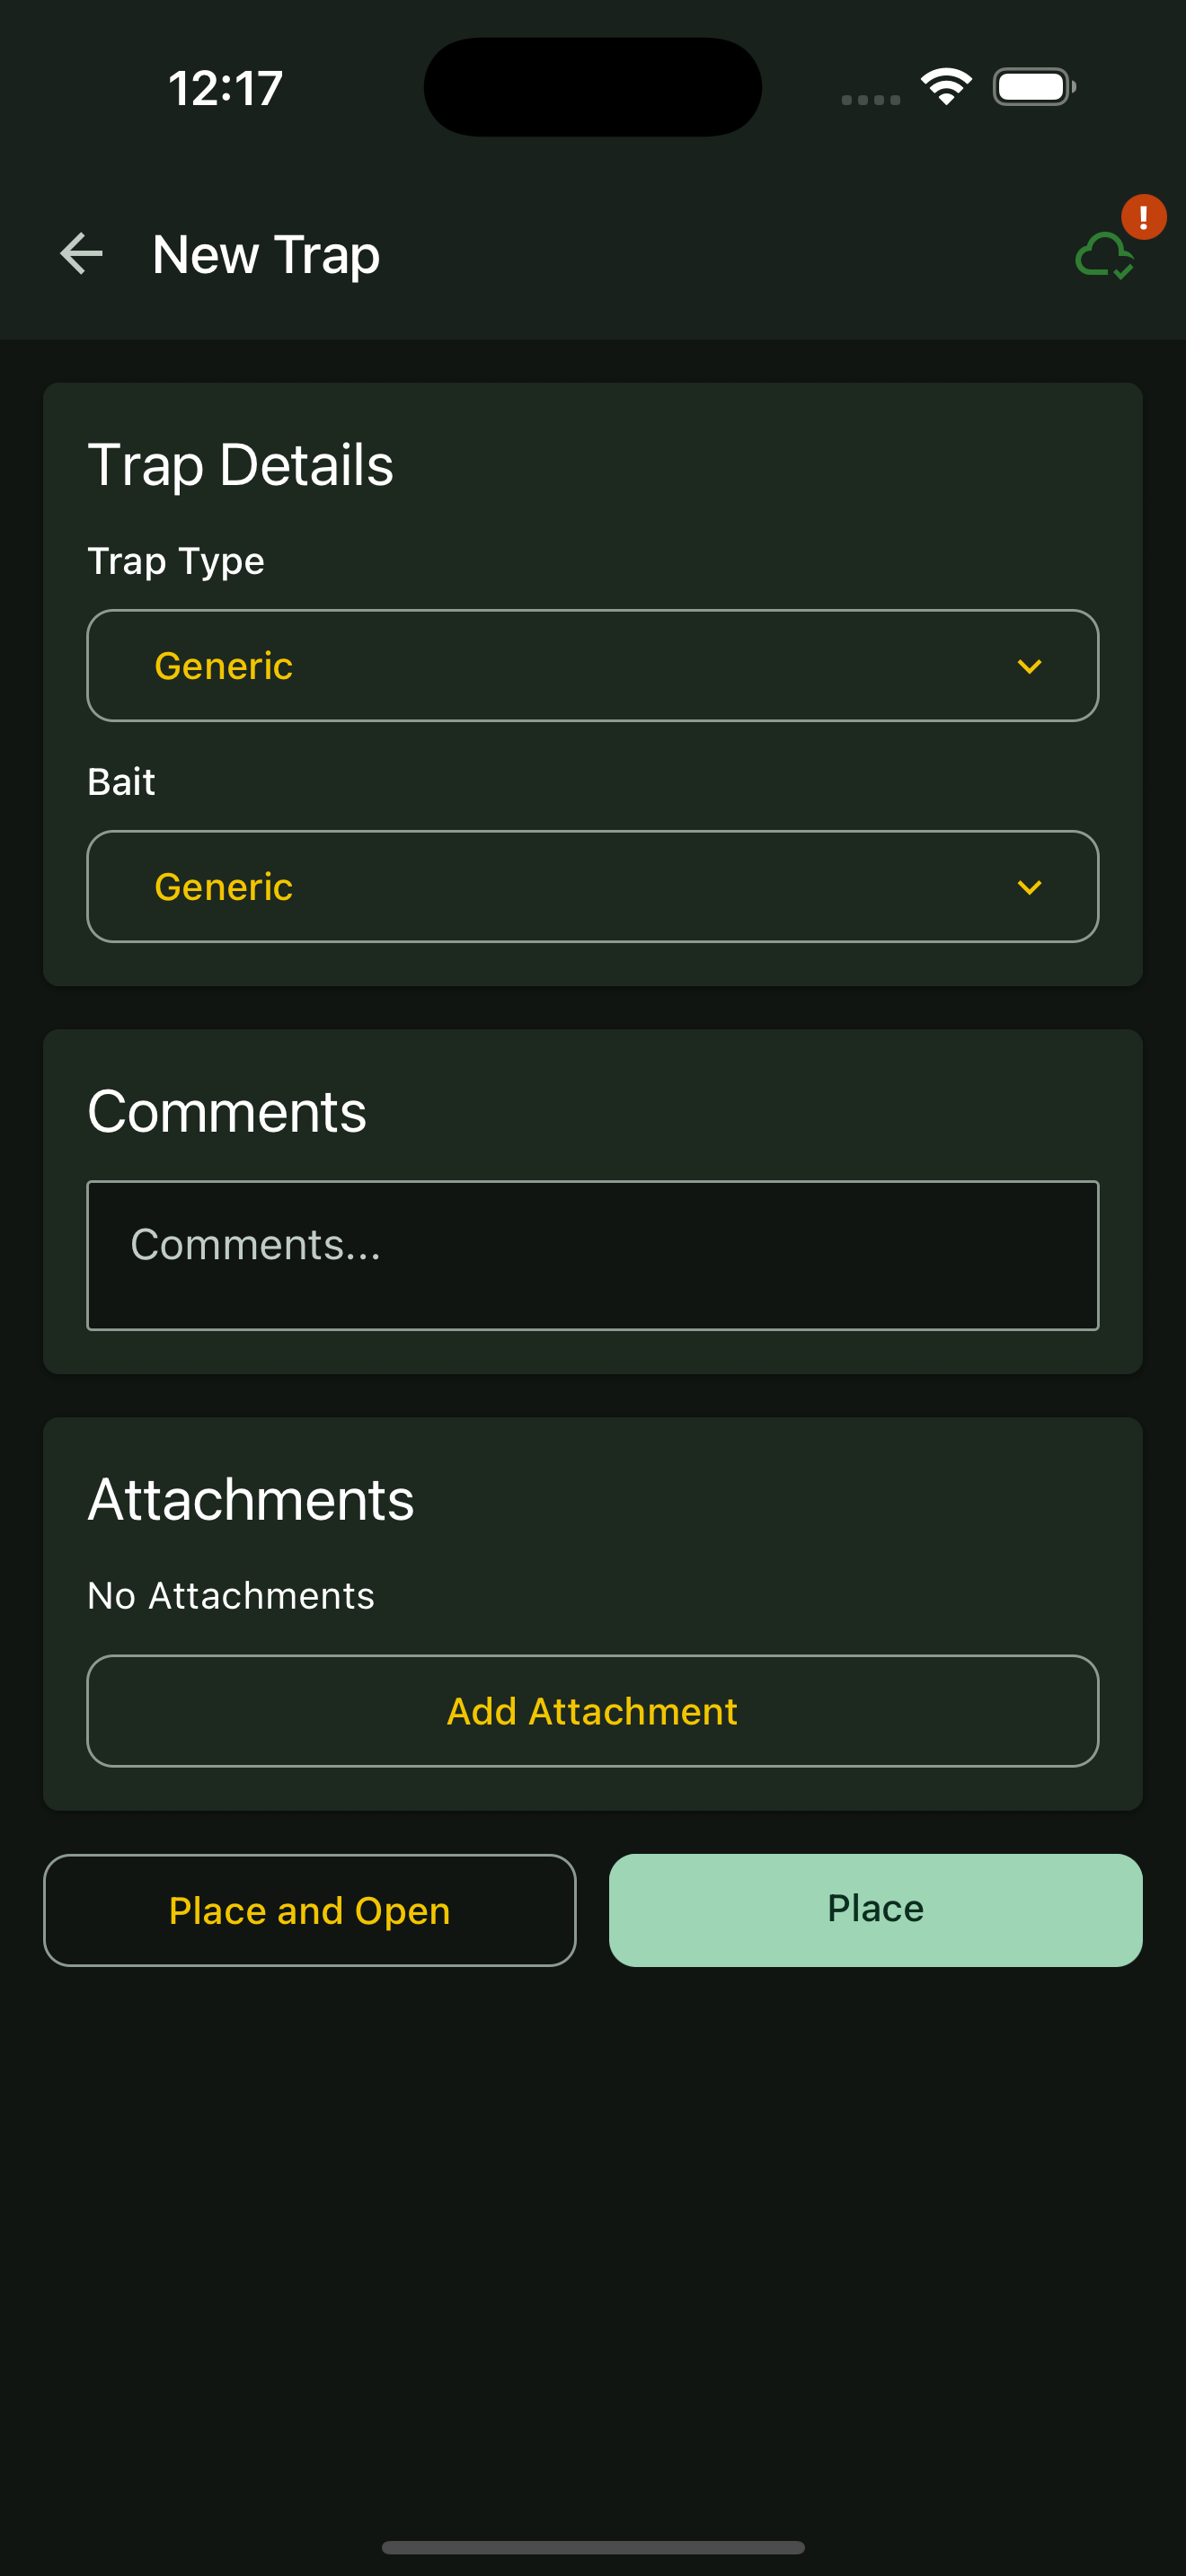
Add details and place
Choose the trap and bait types. Add comments or attachments if useful, then tap Place. Use Place and Open to view the trap immediately.
Web portal instructions
01
Choose the location
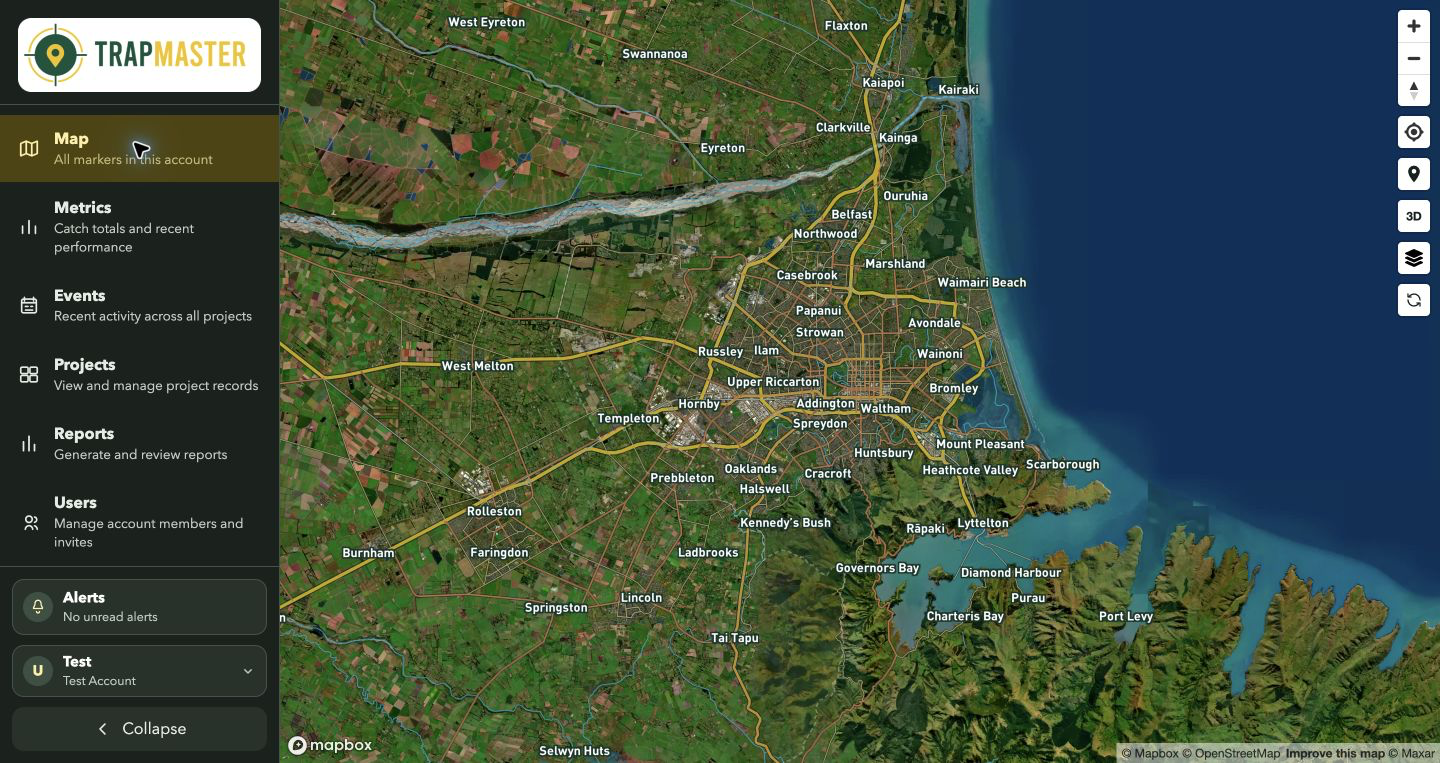
Click the Place a marker map control, then click the trap’s location on the map. You can also drag the control onto the map.
02
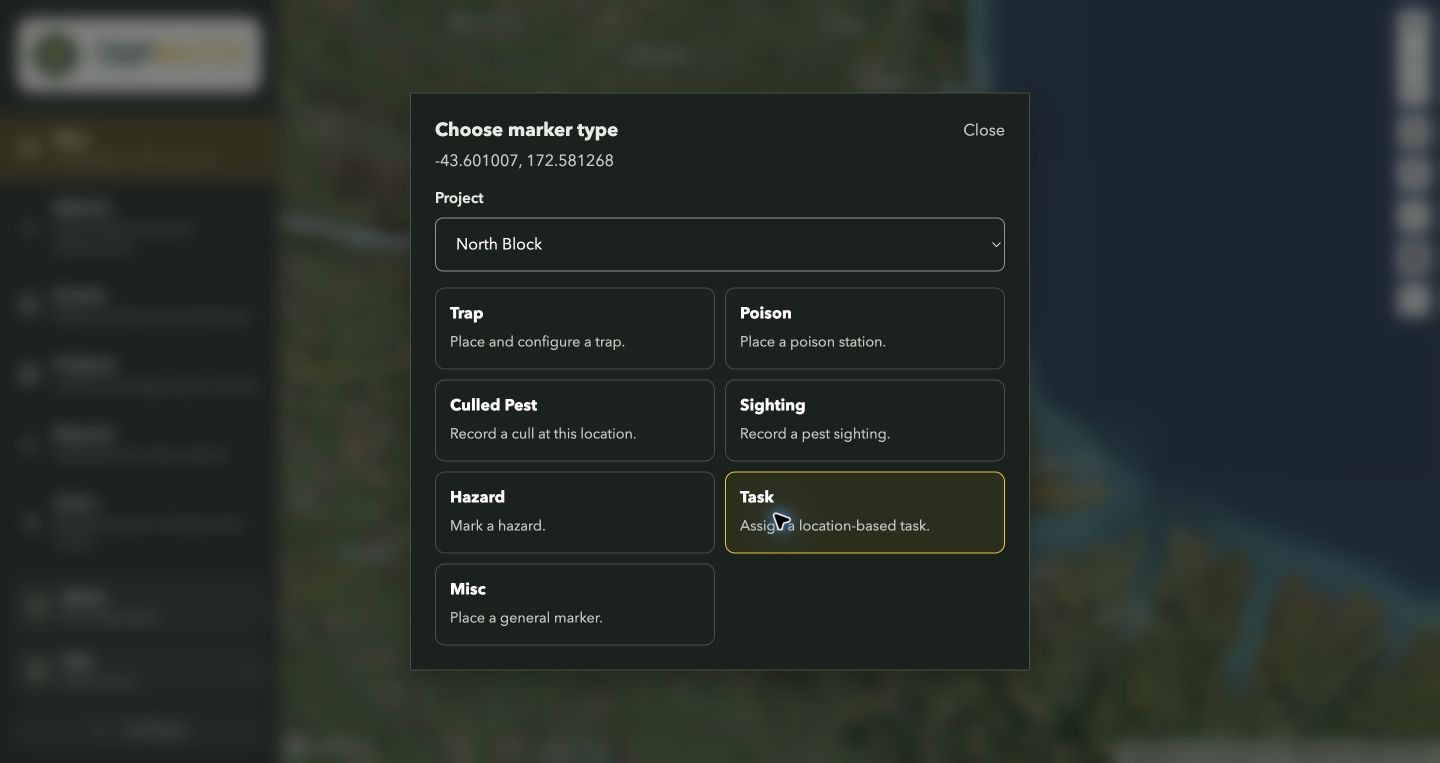
Choose the project and type
In Choose marker type, check the Project selection and choose Trap.
03
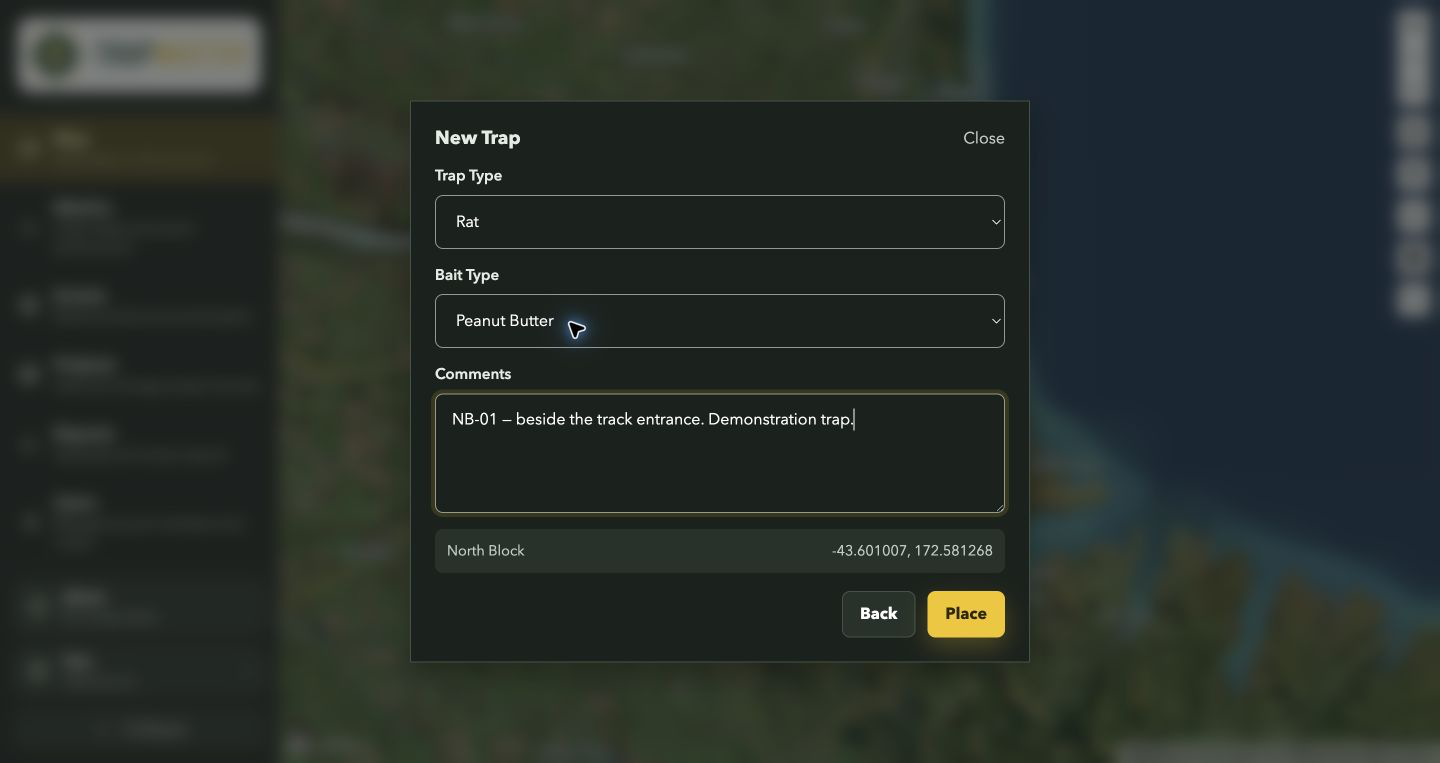
Enter details and place
Choose the Trap Type and Bait Type, add any comments, then click Place.